
Previous post Introduction & Implementation
Now, we need to enable the service to use PowerBI API
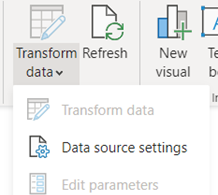
- Go to Settings
- Click to Admin portal
- Go for Tenant settings
- Then in the Developer settings part Allow service principal to use PowerBI API

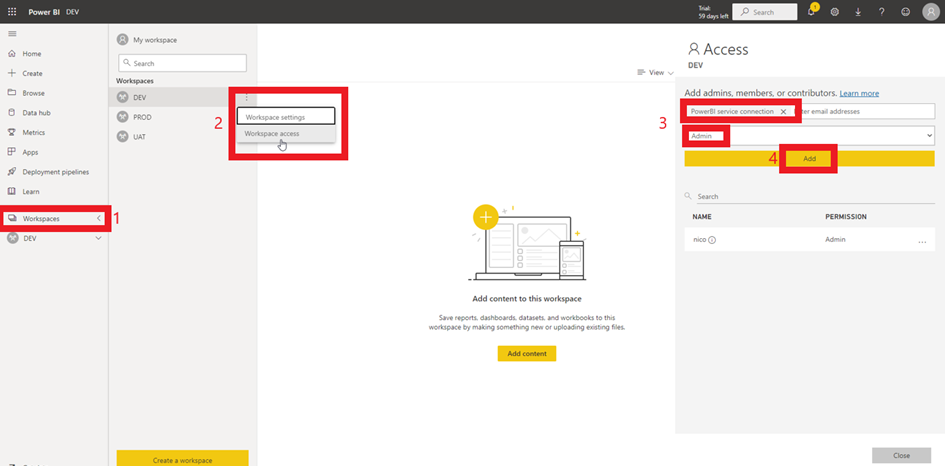
Grant access to workspace
Now, we need to add the service as admin to the workspace
- Go to Workspace
- Click on the three dots and Workspace access
- Add the PowerBI service connection and give him Admin role
- Finally click on Add
Adding the service as gateway owner
To be able to use the tenant create in the Azure Active Directory we need to add the service as owner of the gateway
Add the extension to Azure DevOps
As we explain before, this work is based on an extension. We need to add it to Azure DevOps.
- On the top right corner click on the
 and then Browse marketplace
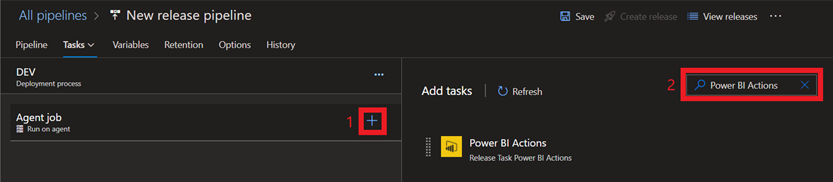
 - Search for PowerBI actions
- Click on Get it free
- Select your organization and download the extension
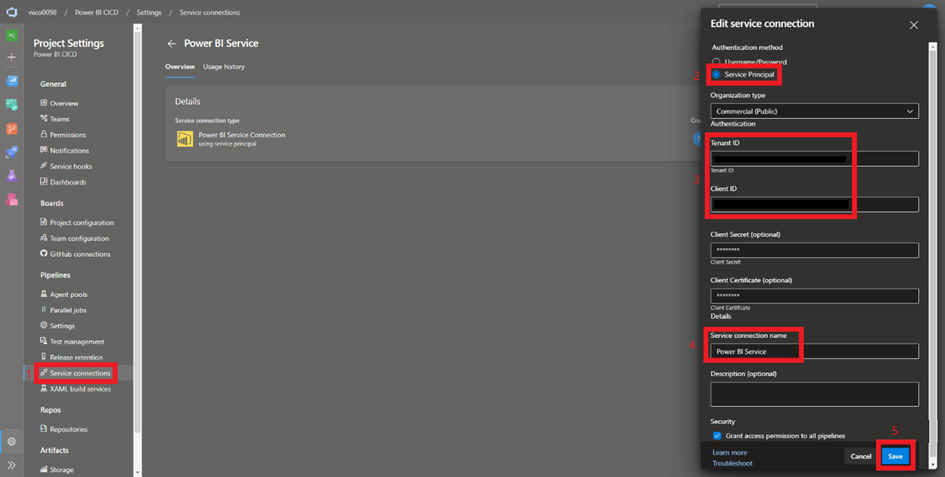
Creation of the service connection in Azure DevOps
To be able to use the tenant created in the Azure Active Directory we need to create a service connection in Azure DevOps
- Go for your organization settings and click on Service Connection
- Create a service connection by searching Power BI Service Connection
- Select Service Principal and then fill Tenant ID and Client ID with the credentials that you copied beforehand. If not, you can find it in the Azure Active Directory under the app registration menu
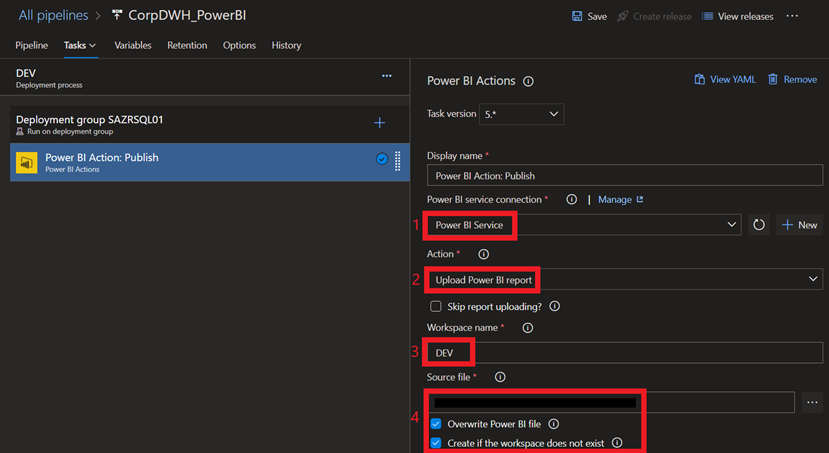
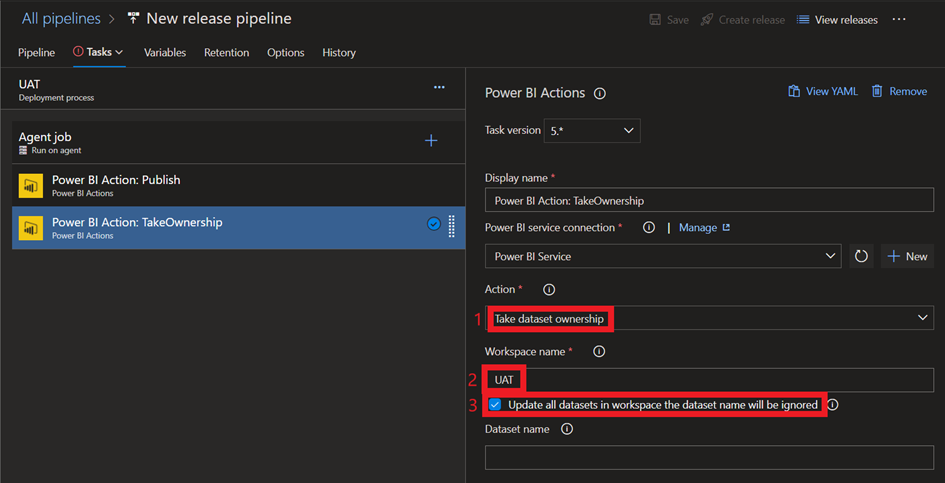
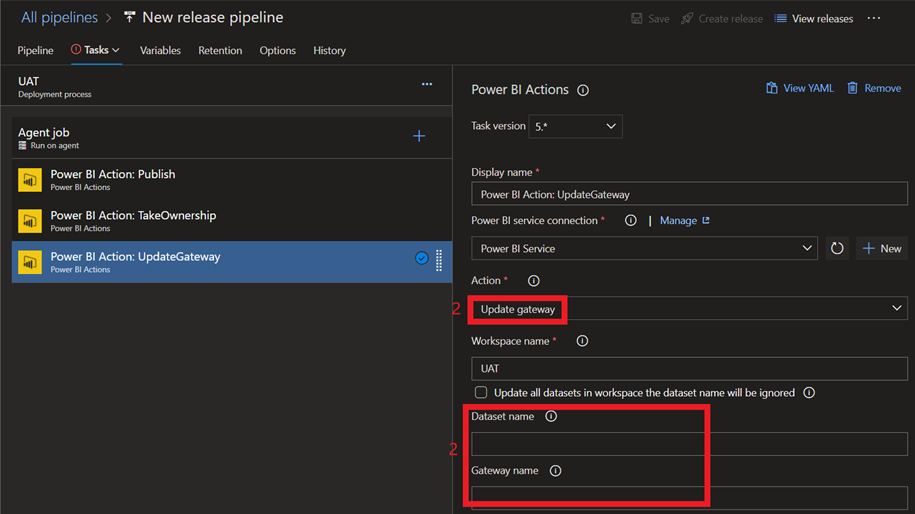
Now that we have set up every tool, we can create the release pipeline.